
Deploying Your App to Heroku
Step 1: Host your app on GitHub
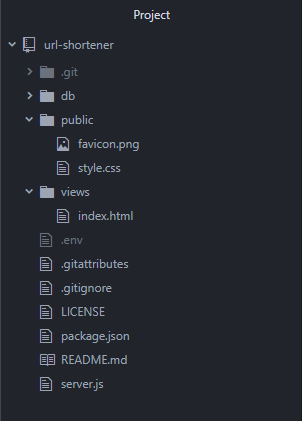
Before deploying your app to Heroku, make sure that your code is hosted on GitHub. I’ll be using a small project which is a URL-shortener microservice as an example. My code is on GitHub and my file structure is as below.
Step 2: Setting up Heroku
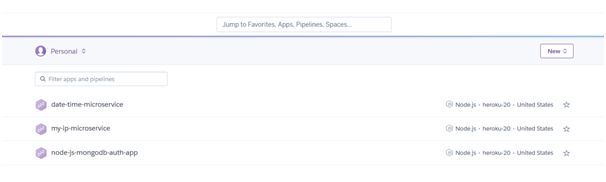
The first thing you want to do is to create an account on Heroku. Once that is done, log in and you will see your dashboard. If you do not have any apps hosted on Heroku, it should be empty.
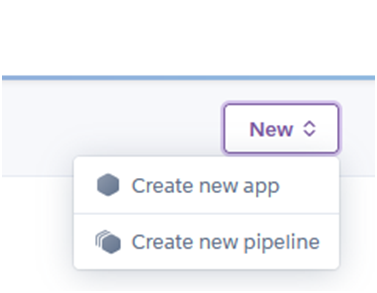
Click on “New” and click on “Create new app”.
Here you will need to decide on your app name. Take your time as it will be the url for your app. I used “shortadd” in the end.
For the region you can leave it as the default which is USA.
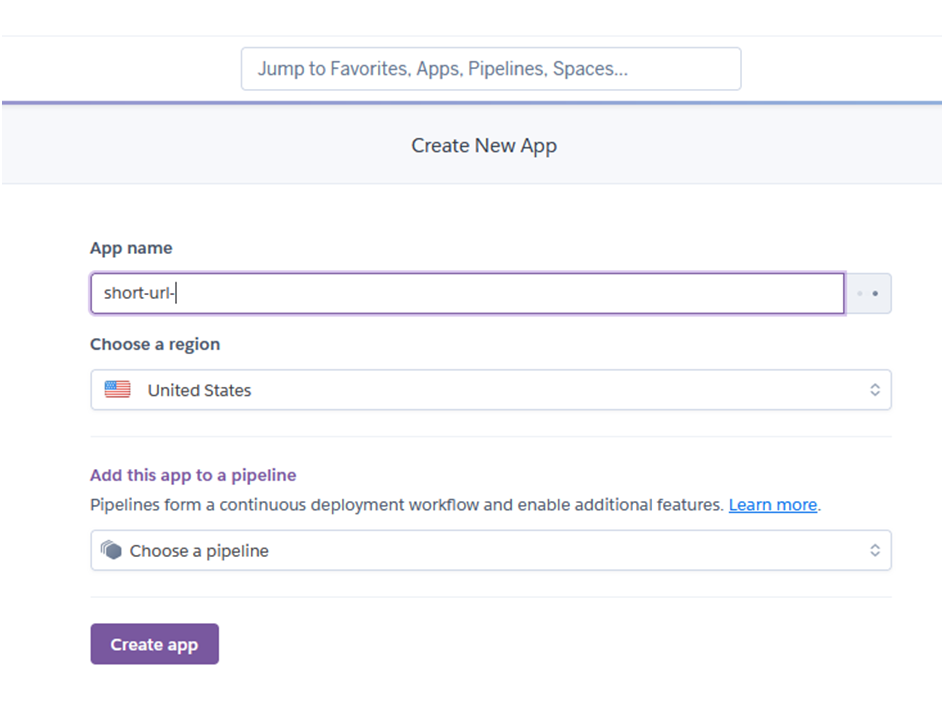
Once you click on “Create app”, it will next show you the deployment settings for your app.
Step 3: Adding Database
Most of the time, access to the database is private and during development it would have been placed in an environment set up file which you have added to .gitignore.
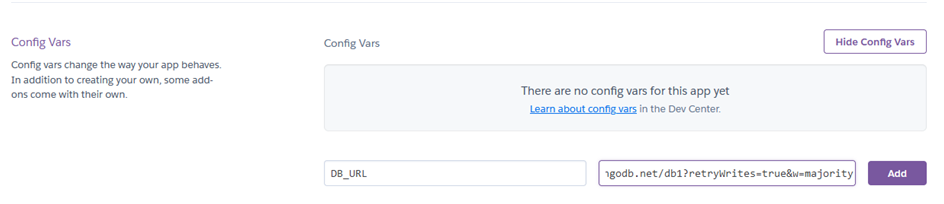
If your app requires access to a database you will need to add the access under the “Settings” tab.
Click on “Reveal Config Vars” and add in the key value pair to access your database. DB_URL in this example should be the variable that you use in your application to make the connection call to the DB.
Step 4: Linking to GitHub
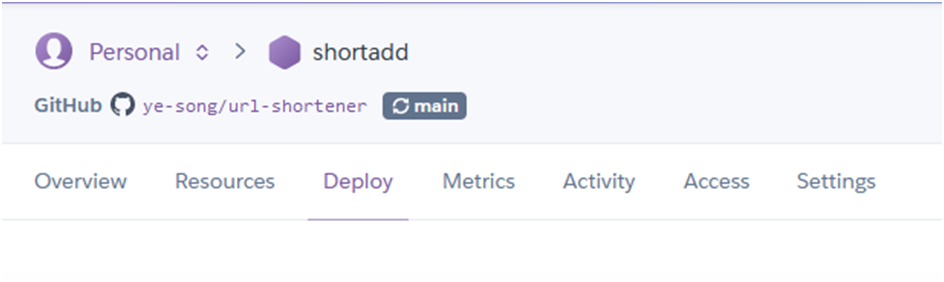
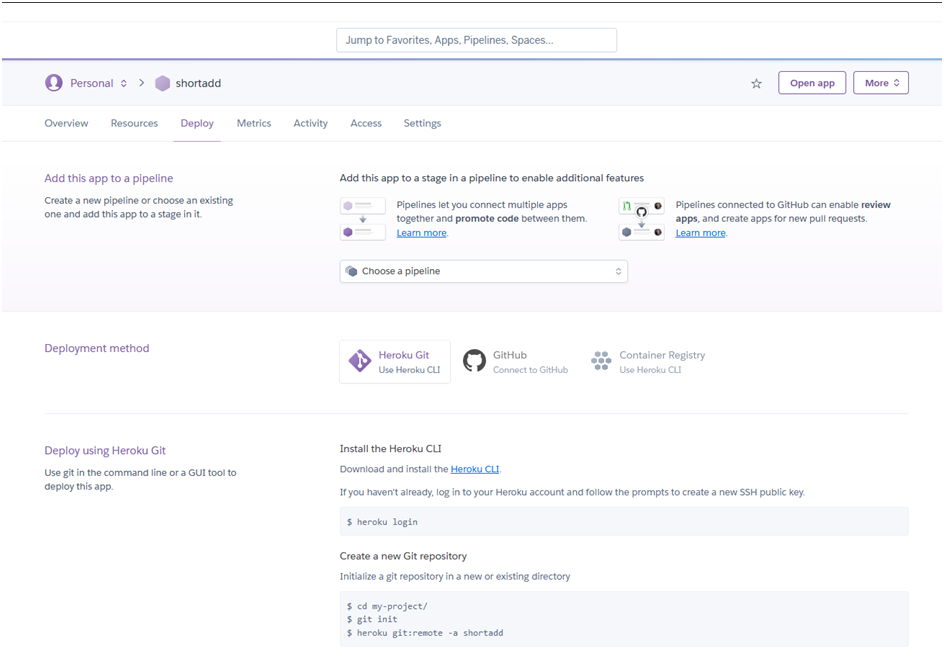
Go back to the “Deploy” tab and under the section “Deployment method” click on “GitHub”.
If you haven’t connected your Heroku and GitHub accounts, you will be prompted to complete the GitHub OAuth flow. Heroku needs access to help you select repos and to be able to register webhooks triggered when you push to GitHub. Once connected, you can select which repo associated with your GitHub account to link to the Heroku app.
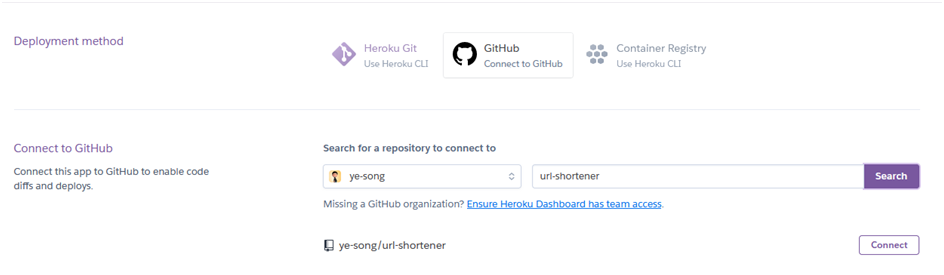
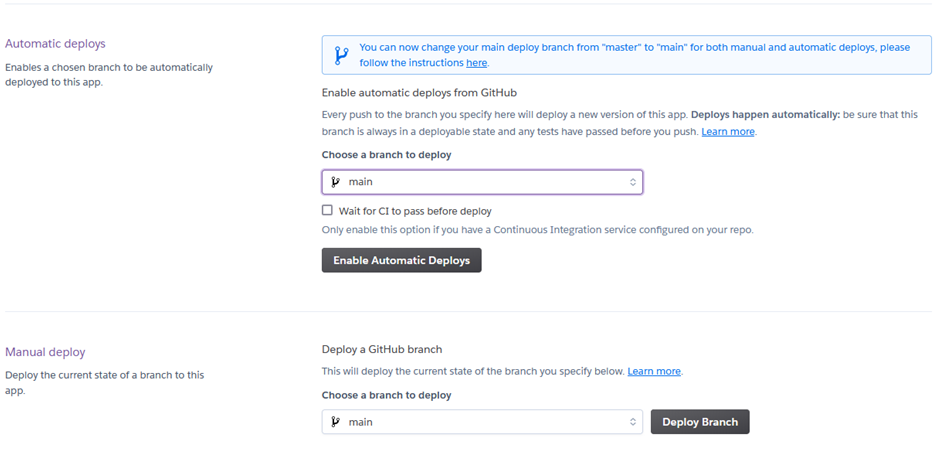
Once you have selected the repo to connect to your app, click “Connect”. Next select the branch to deploy and click on “Enable Automatic Deploys” Then click on “Deploy Branch” in the “Manual deploy” section.
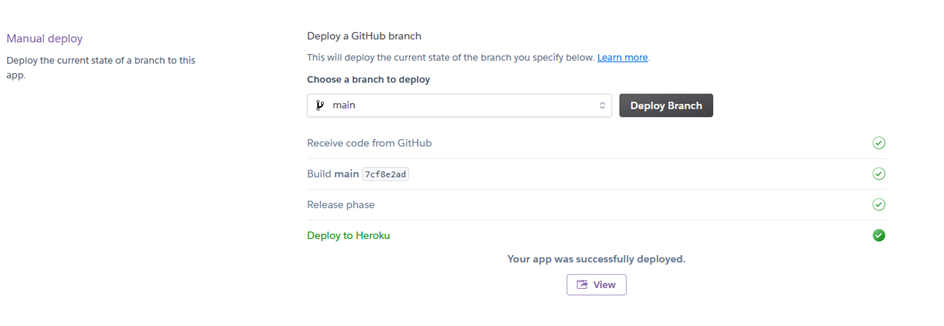
You will next see Heroku building your app, it will take about a minute or so depending on how big your app is. Once completed you will see that it has been successfully deployed and you can click on “view” to see the app.
Errors?
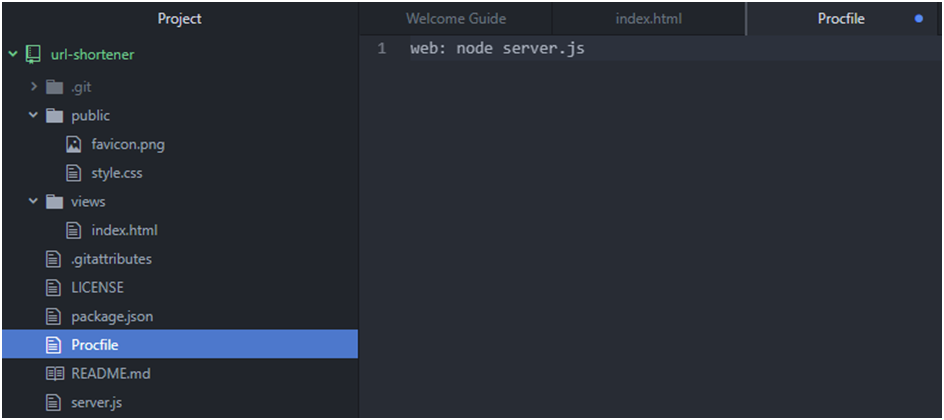
There are some occasions where an error might occur. This could be because you may not have an entry point to your app named server.js. You could have named it index.js instead. One solution is you can rename it as server.js alternatively you could add a file in the root folder of your app called “Procfile” and you can key in “web: node [name of entry point]”. This should point Heroku to the point of entry for your app. (Remember to save it and push to Git!)
That’s it! You have successfully deployed your app on Heroku and if you need to make any changes just do it on GitHub! =)