
Deploying React App to Github
Setting up your project
We will be using create-react-app to create an app and deploy it on GitHub. Create React App is a pre-build environment that helps you to create single-page React applications. It offers a modern build setup with no configuration. You can find out more about the create-react-app here.
To start things off, you will need to have node.js and npm installed. Node.js is an open-source, cross-platform, back-end JavaScript runtime environment that runs on the V8 engine and executes JavaScript code outside a web browser. NPM stands for Node Package Manager and it is a package manager for the JavaScript programming language. NPM is installed together with the node.js installer, you can install node here.
Once installed, you can check the version installed on the command-line interface (CLI) in windows.
C:\>npm -v
6.14.12
C:\>node -v
v14.16.1
Next install create-react-app via the CLI in windows.
npm install -g create-react-app
Once that is done we can now use create-react-app to set up the environment for your app. First create a folder where you would like your project to reside in and navigate to it on the CLI.
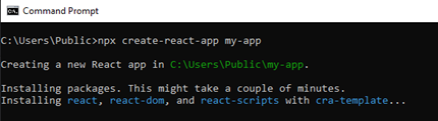
Next in the project folder type:
npx create-react-app
.
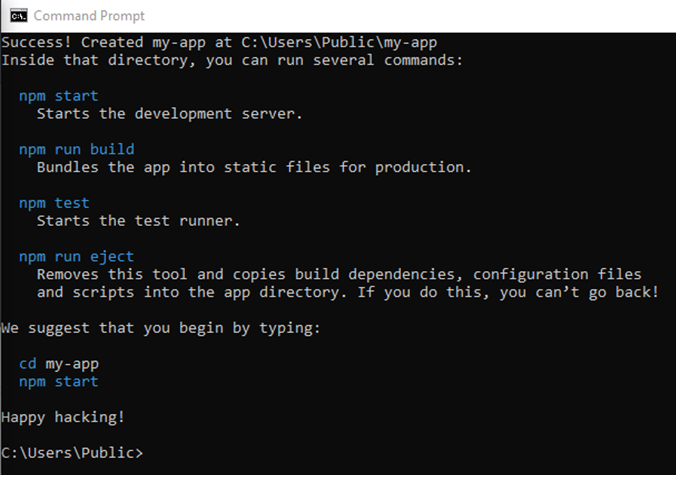
Once it is completed you will have the following project structure created.
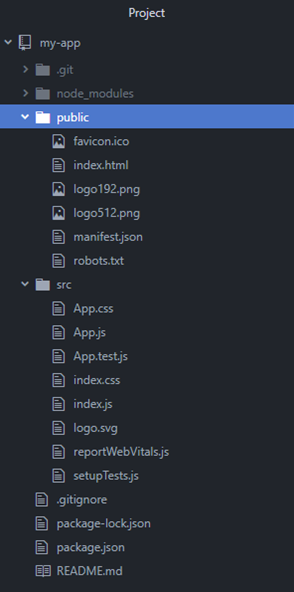
Note that public/index.html is the page template and src/index.js is the Javascript entry point. For the project to build, these files must exist with the exact filenames. You can delete or rename other files. Also, you need to put any JS and CSS files inside src.
Now you can develop your react app and once you are done you can move on to deployment.
Deployment
Before you can deploy, make sure you have Git and GitHub Cli installed locally. You can install Git here and install GitHub Cli here. I installed GitHub Cli using the MSI installer. GitHub Cli allows you to execute GitHub commands locally on your windows CLI and Git is needed as a version control to interface your local project with your GitHub repository.
Once that is done, here are the steps to deploy your react app on GitHub.
Step 1:
Install the gh-pages package as a “dev-dependency” of the app.
npm install gh-pages – save-dev

Step 2:
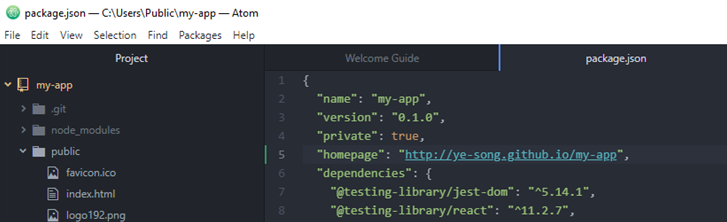
Add homepage property to package.json file.
“homepage”: http://{github-username}.github.io/{github-repo-name}
Step 3:
Add the following scripts to the script section of your package.json file.
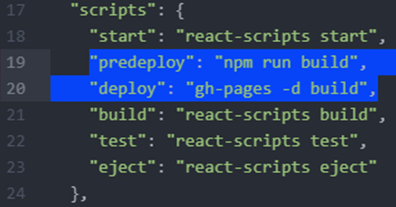
The predeploy command bundles the react app while the deploy command deploys the bundled file.
Step 4:
Initialize and add the GitHub repository as a remote location.
On the CLI type:
git init
The git init command creates a new Git repository. It can be used to convert an existing, unversioned project to a Git repository or initialize a new, empty repository. Most other Git commands are not available outside of an initialized repository, so this is usually the first command you’ll run in a new project.
Next add it as a remote. On the CLI type:
git remote add origin {your-github-repository-url}.git
The git remote command let you manage connections with other repositories.
Git remote add {name} {url}
It creates a new connection to a remote repository. After adding a remote, you’ll be able to use {name} as a convenient shortcut for {url} in other Git commands.
Step 5:
Now deploy to GitHub Pages by typing on the CLI:
npm run deploy
This command will create a branch named gh-pages at your GitHub repository. This branch hosts your app while the homepage property you created in package.json file holds your link for a live preview.
Step 6:
Go to the repository on GitHub, under settings, under the GitHub pages section, change the setup source to the gh-pages branch.
That’s it! You have deployed a working react app on GitHub =)